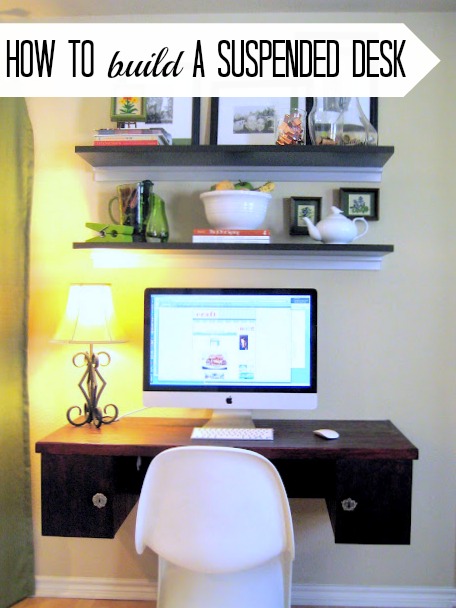
We built a suspended desk that hangs from our wall. Yep, we’re officially nuts. Here’s the original plan, desk dilemma, part 1, part 2, and part 3 of the desk building saga! Today we’re tackling part 1, the nuts and bolts of this beast (pun intended)!

Materials needed to make a suspended desk:
- 1 piece of 4’x8′ plywood
- 1 piece of 2′ x 4′
- sander
- saw
- wood glue
- clamps
- drill
- 2 brackets that can holdup to 1000 lb.
- “L” brackets
- nail gun
- dremel
I decided to buy fancy plywood since I was not planning on painting the wood:

The really nice Home Depot dude did the 5 major cuts for us for free! We decided to get some cuts done at the store so that the pieces would be easier to store at our tiny condo. We knew we would be taking a trip to my parents house to borrow their tools and make the tedious cuts.

The trip to my parents house was necessary because they own every tool known to man and have space to work. Our cute little condo has no yard and our neighbors don’t appreaicte the sound of power drills at midnight… can’t understand why? ; )

After all of the big cuts were made, it was time to put together the top of the desk. The top is made with 2– 20” x 48” pieces of plywood. We used wood glue, and then clamped the 2 pieces together over night to make the top piece.

My mom and little brother were a big help!

The top pof the desk drying…

The pieces are cut, we’re back in Austin, it is time for the installation. Here’s our super simple plan…

The back piece was leveled, and drilled into 3 studs in the wall. Apparently, the BF has to squint when leveling…I found this pretty entertaining. This piece is 11” x 48”.

Step 1 of installation done!

Next, install the braces, and drill the top to the braces. Make sure your sides match up.


Have you ever seen the Dremel in action…I had no idea. See for your self:
Next, we used these smaller “L” brackets to attach the side pieces to the top.


We completed one box at a time. Each box has 8 metal “L” brackets.
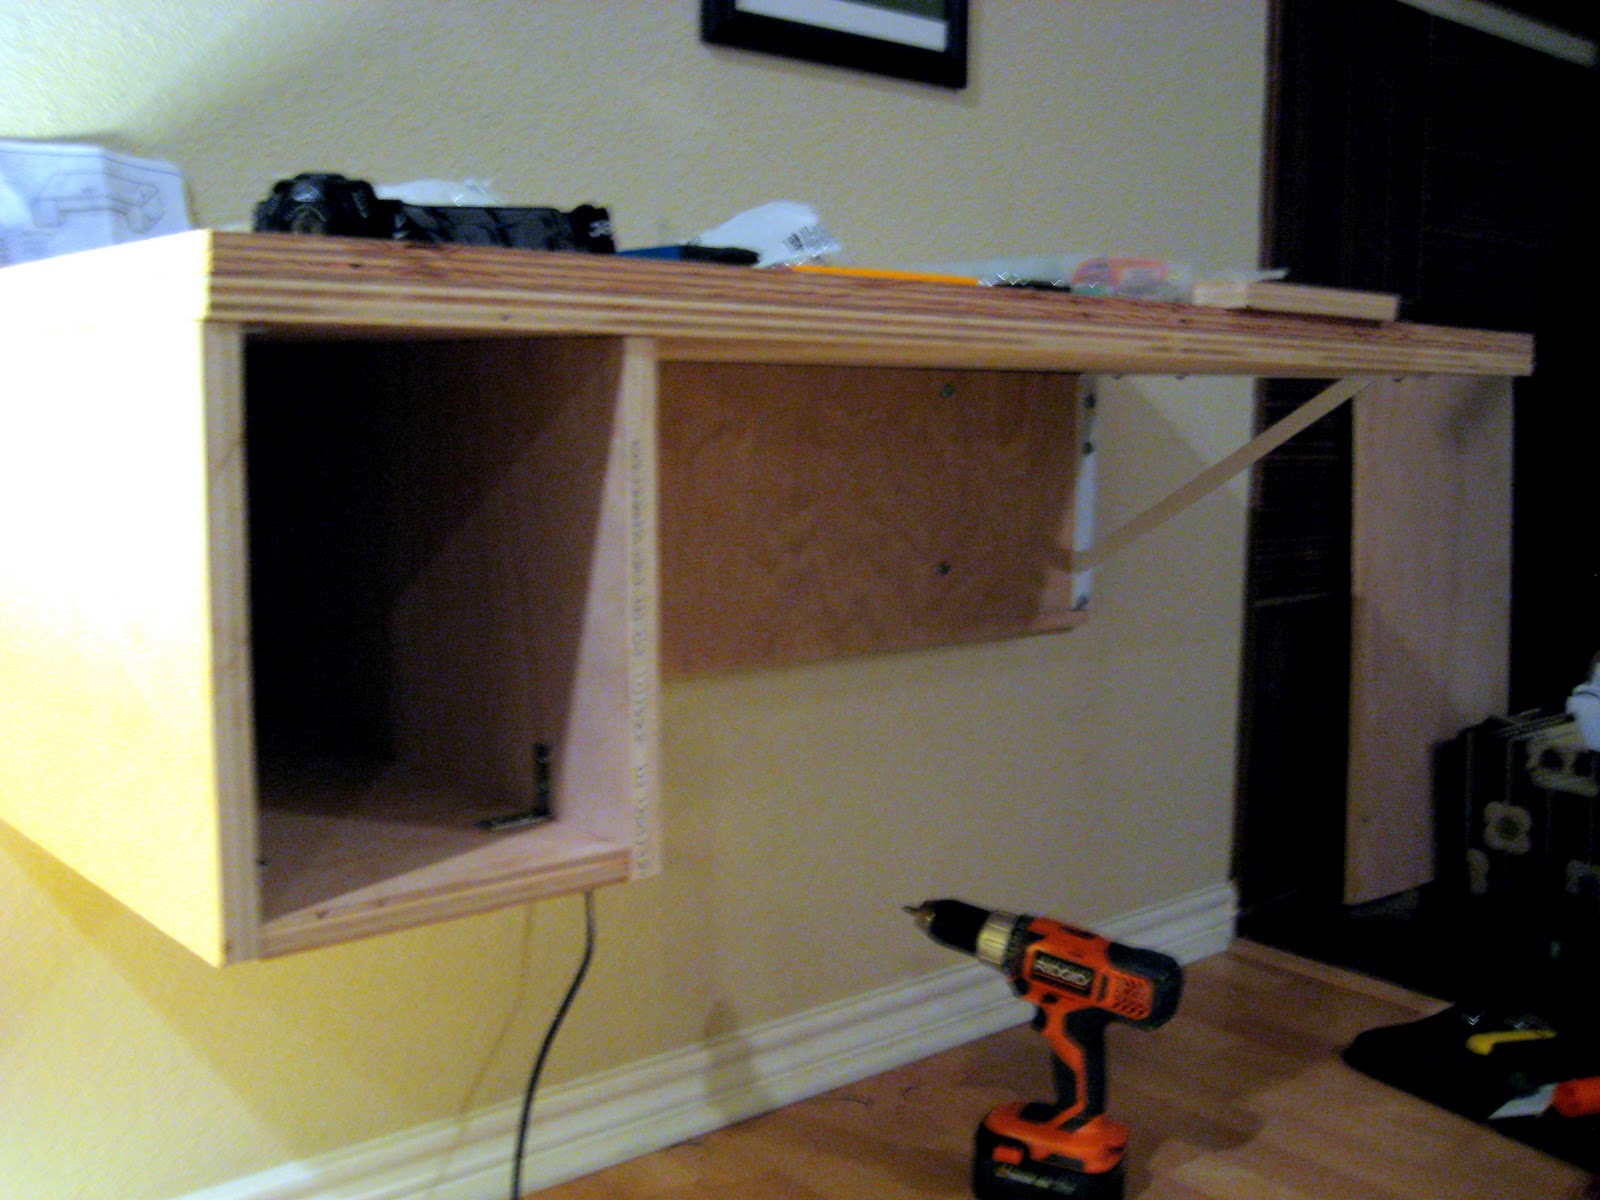
Both side boxes are installed. Getting closer…


Time for the molding… Check out the raw edges in the picture above. We used an 1” x 2” x 8ft stick of oak wood for the molding. We used a miter box to cut the wood into the specified links.
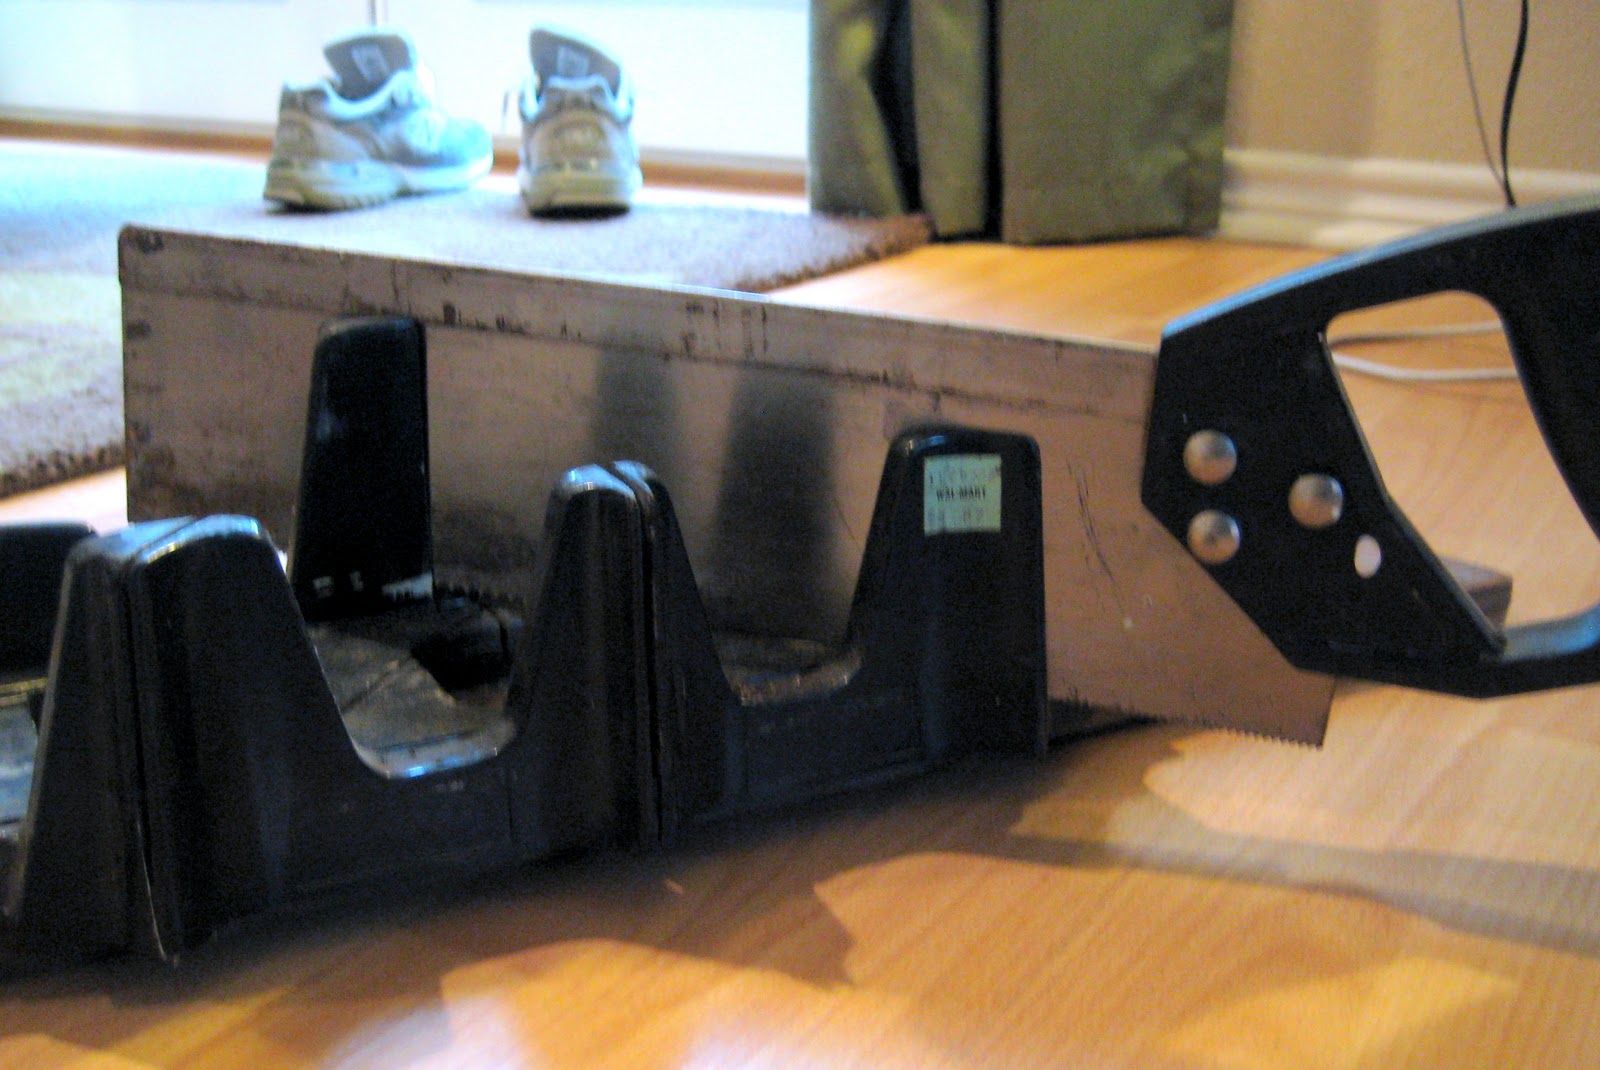
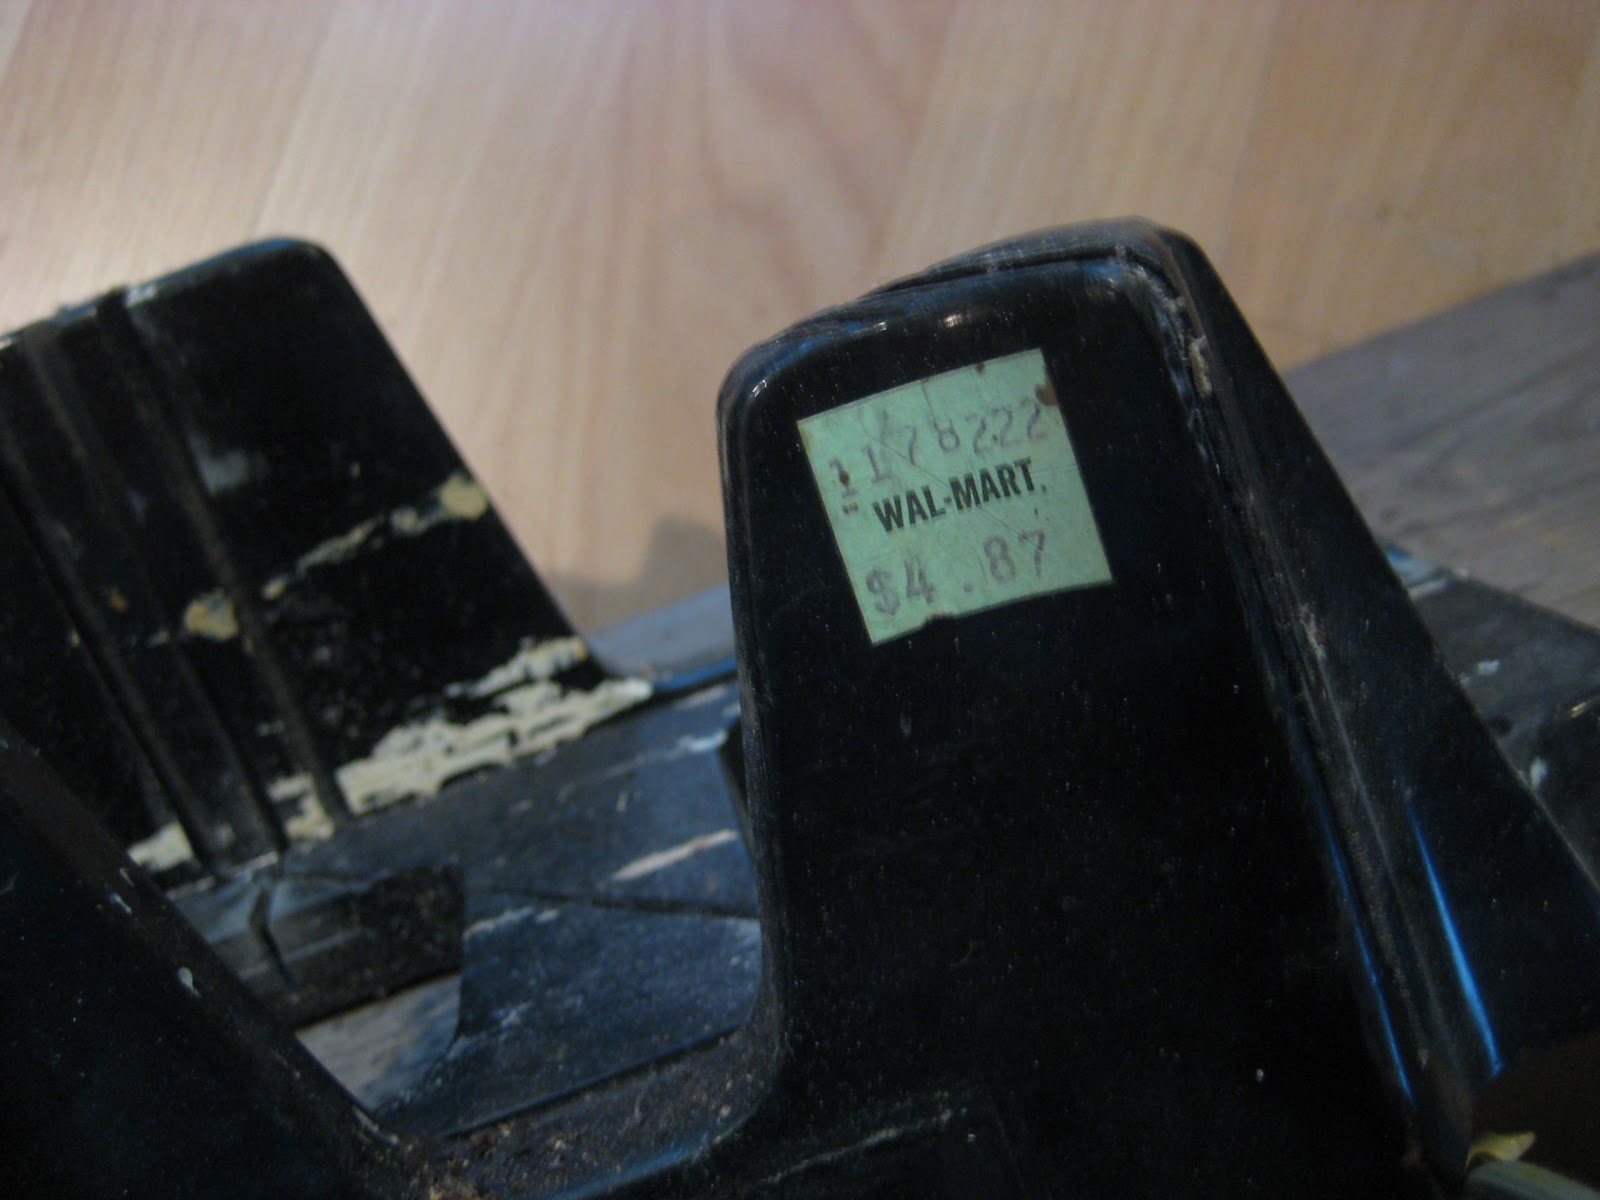
Of course we borrowed this from my parents… and just for kicks check out the price on this thing…$4.87 from Walmart…How old is this thing? I must say it worked like a charm!
So, once again here is the before:

and here is the after…
Stay tuned for Part 2… with the sanding madness, routing the molding disaster, wire clean up, and attempting to stain… I also added some fun shelves!

Comments & Reviews
Jamie this is awesome!! I just emailed the link to this to my husband and told him THIS is what I want for my birthday! Solves a huge space issue for me! Thank you so much. You’re a genius!
Thanks for linking to Take-A-Look Tuesday over at Sugar Bee Craft Edition – I featured you today! – Mandy, http://www.craftedition.blogspot.com
It is looking really good! I'm eager to see the stained version. 🙂
Oh I just love this desk! It's so clean & fresh looking … no fuss. Chair is really fab too!
I think you just solved my latest decorating quandry! Thank You!
You should come link this up to my weekly Thursday through Sunday Making It With Allie Link Party! I think it would make a Fabulous addition!
AllieMakes.Blogspot.com
Absolutely…. COOL!!!
Love it!
Hugs ~~ Suz
inspiringcreativeness.blogspot
Very cool idea….and very easy to clean under!
Kelly
great idea… love it..
WOWWWWWW! Great work!! 🙂 I like the low profile and spacious feeling, yet functionality of a desk! (found your blog on My Backyard Eden)
Love the desk! It looks great, and i never would've thought to do a suspending desk!
and that chair… totally cracks me up! I love it!!
cant wait to see the next part!!
Wow, what a great job, love that desk! The chair is sooo perfect there too!
Great job building the desk! And I LOVE that chair!!